
CONSTRUCTION PAPER WREATH TUTORIAL
I was shocked to see my blogger stats the last few days skyrocket with over 70,000 hits to THIS
post alone (about paper wreaths of all things). I figured that if that
many people are interested in such a thing, I might as well provide
guidance on how to make them. Maybe it will help to ease the stream of
e-mailed inquiries I've been getting.
You need:
.
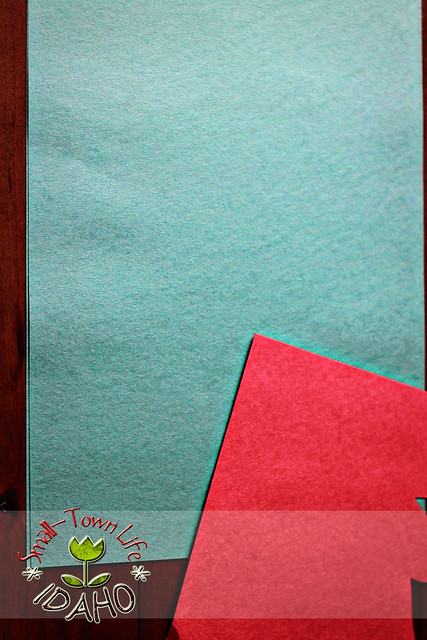
1.) one 9''x18'' sheet of green construction paper
2.) scrap paper of any color you'd like for bows, berries, etc.
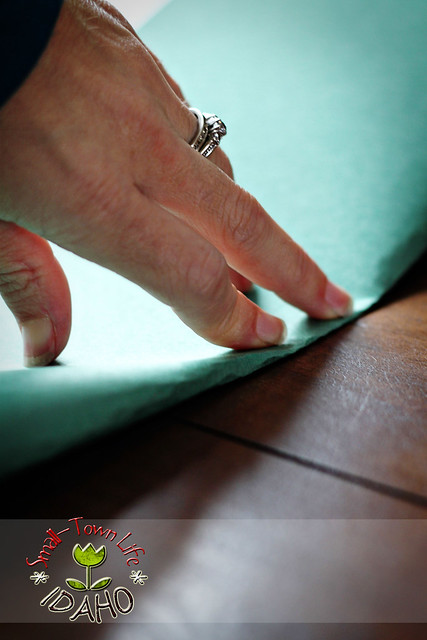
First, take the green paper and fold it in half...

...hot-dog style, like this.

Draw a line
along the length that is open...NOT the side where the crease
is...about 1-2 inches away from the edge. This marks your "NO CUTTING
ZONE" for later.
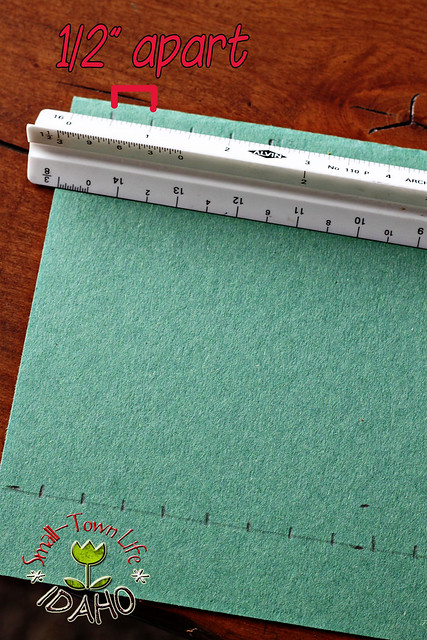
Then, draw tic marks every half-inch
along the top and the bottom. You can make these marks one-inch apart
for younger kids, but the narrower they are, the "lacier" your wreath
will turn out in the end.
I always tie this project in with the math lesson we have each December on measuring to the nearest half-inch.
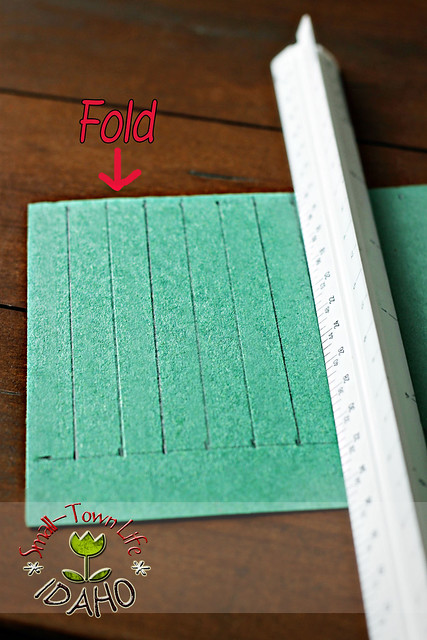
Next, connect those tic marks with your ruler to make straight cutting lines. Notice my lines stop at the first line we drew earlier.
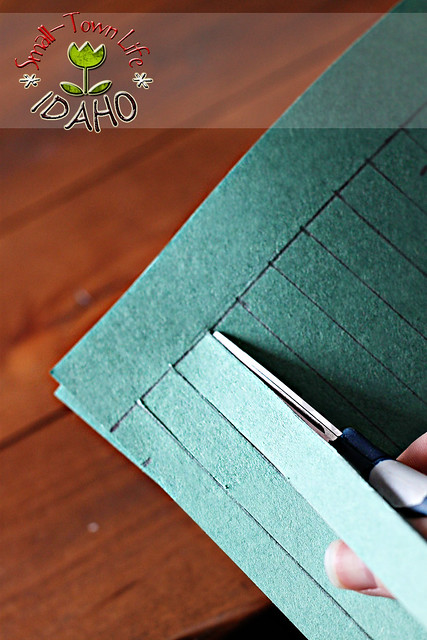
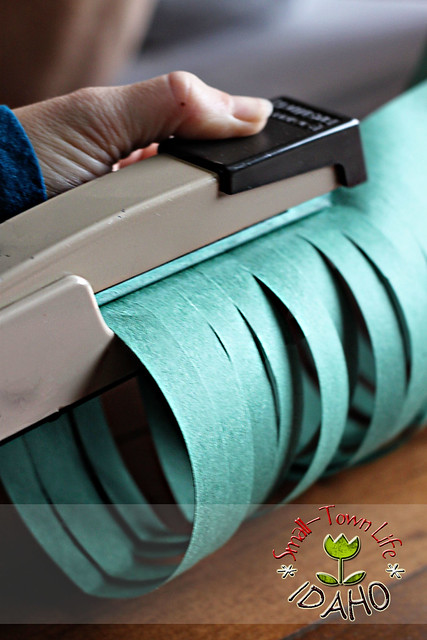
Then, cut along each line you drew, being careful not to go too far!
It will look like this when you've finished cutting.
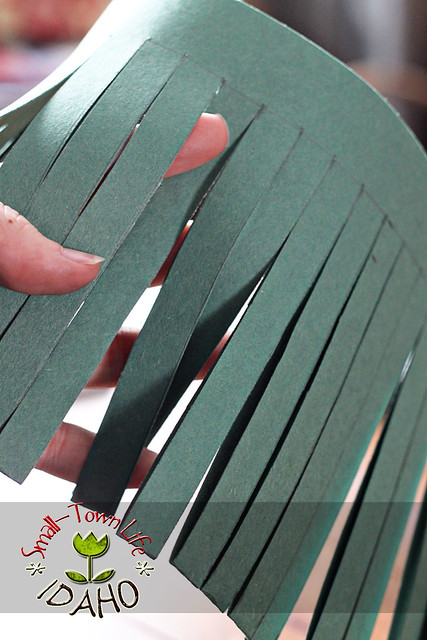
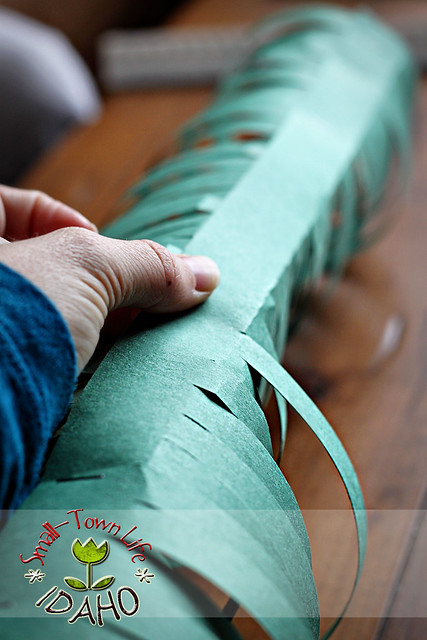
Now, open it up...

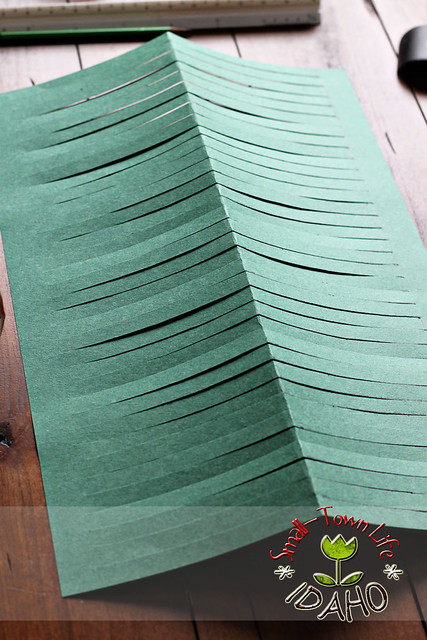
...And roll it in the opposite direction that the crease was folded to make a tube-like shape. It helps to have a second pair of hands for this step.
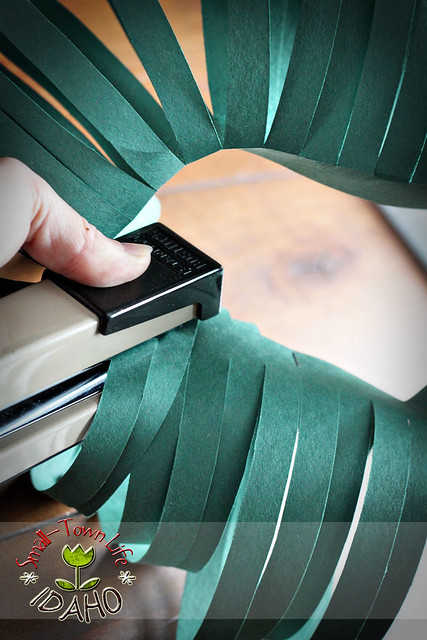
I have the student hold one end together while
I put staples in other side every couple of inches...as far in as my
stapler will reach. Then we trade sides and I staple the other end the
same way.
I've found it just works better to have adults
do the stapling part. Kids will only bunch it up, rip the "rings," and
get frustrated. I always have a few teacher's aids on hand for this
project.
I've also found that creasing the section that isn't cut, on either side a little bit helps to shape it for the next step.
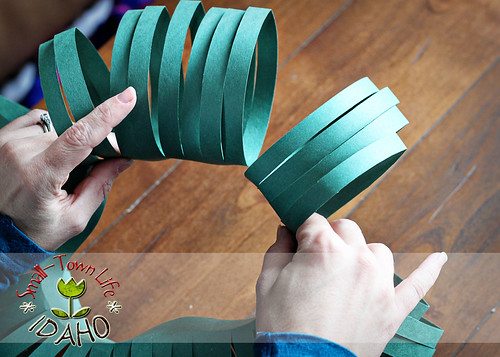
Now, join both ends of the "tube" you just made to create the wreath shape...
...and staple the ends together.
At this point, you may need to finagle the stapler in through the
"rings" to fix any bulges in the middle. After this, it should look like
a wreath.
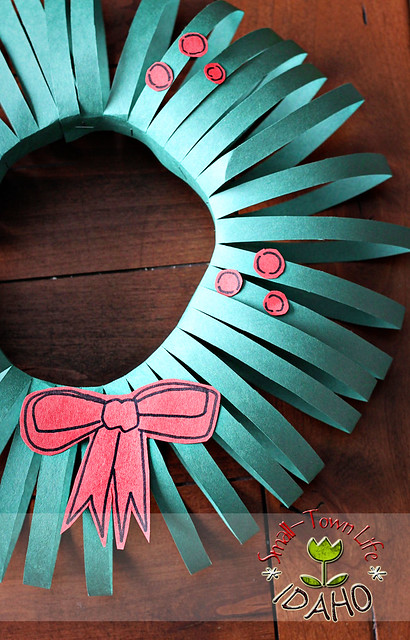
While students are waiting for an adult
to help them with the stapler, they work on cutting out bows and
berries. I've even had creative kids add pine cones and squirrels. I let
the kids draw their own embellishments free-hand to allow for some
individuality. If it's easier for you, copy off some clip-art bows for
them to cut and paste instead.
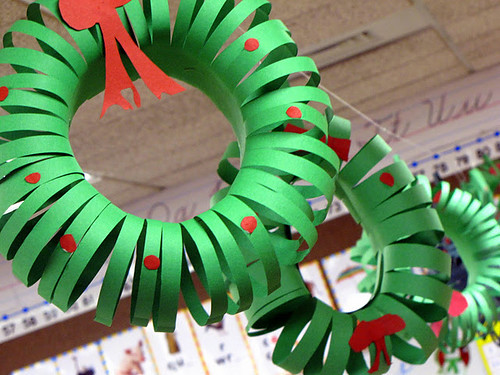
Hang the final product in a window, on a door, or make a garland of them across the classroom ceiling.
Let me know if you have further questions. Become a follower to stay updated on future kids' crafts, activities, and other classroom helps. Enjoy your holidays!
(Forrás: http://andrewrachelashmore.blogspot.hu/2011/11/construction-paper-wreath-tutorial.html)
Rengeteg jó ötlet van még ezen az oldalon, érdemes szétnézni!